Hey friends! Welcome! So I know that when I go to Pinterest looking for something specific, I just want to get to the info. I don't need the back story. I am a to the point kind of girl. We are all I a hurry and have a ton on our lists, I get it. SO what you will find here is a no BS (back story) just straight to the point, telling you step by step how to do something, blog post! Plus a few affiliate links for some stuff you may or may not need for this project! The links are there if you need them, if not, thats ok too!
So let's get straight to the topic today!
One of the questions I get asked all the time is how did we make my sewing island. It was actually quite simple. I think any one can do this!
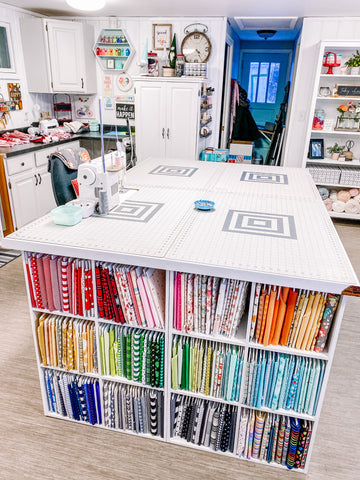
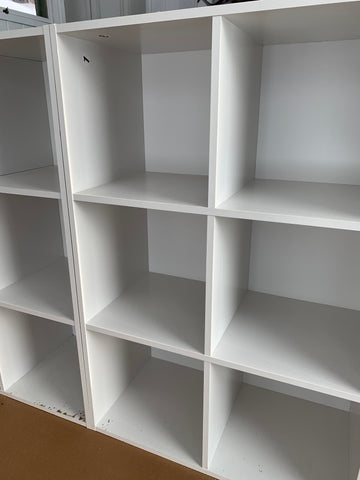
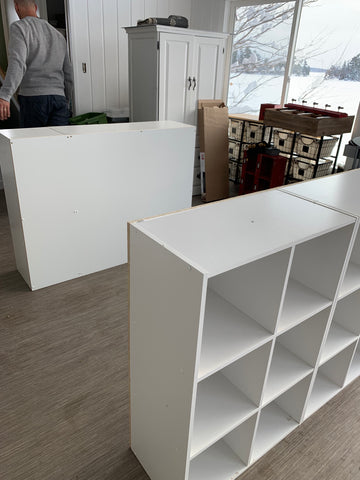
We started with 5, 6- cube systems from Amazon.
We wanted one for each end and one for the middle. Mike also bought some white 1/2" plywood to use as a backer board from our local hardware store. This is to give the cubes more stability since the backs of them are open. Now hey, I know that not everyone has a Mike or a table saw. Did you know that if you but the wood from Home Depot and tell them what size you want it, they will cut it for you!! So ladies, get yourself a good power drill and a tape measure and you too can DIY this yourself!!

Mike fastened two sets of cubes together and then attached the plywood to the back. We then set them in place and placed the counter top on them. Once the counter top was in place we added another section of cubes in the center for added storage and support. The counter would eventually sag if not supported in the center.
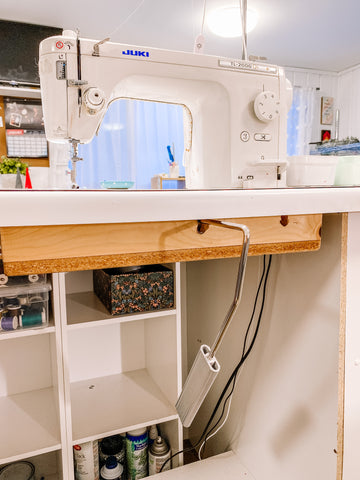
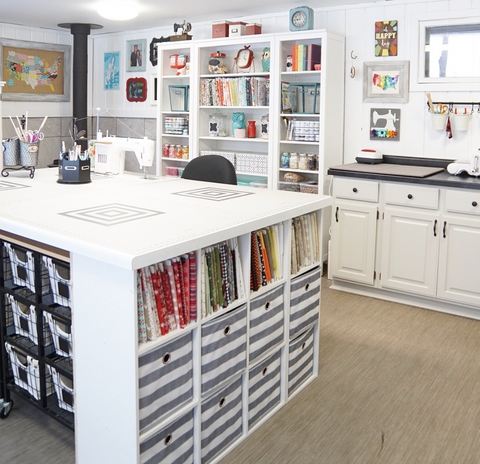
The counter top was custom made, we had this made many years ago in our old house and it just happened to work even better in the new cottage. The size of the counter top is 51" w x 75" L. Mike cut the hole & built a base for the sewing machine himself so that my sewing machine could be recessed into the counter top.
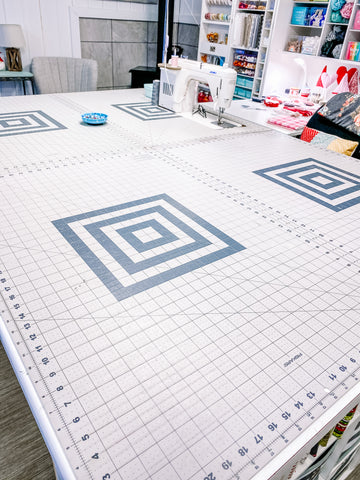
The cutting mat on top is actually 4, 24" x 36" cutting mats that I have simply taped together on the back side so they don't move around. It was totally by hcnace that they worked as well as they did. They are by Fiskars and can be purchased at here. I have found that they are the cheapest on Amazon, you can also get them at your local craft supply stores as well.
The wire carts were purchased form Wal-mart several years ago. I am so glad I bought 2 of them. They hold all of my fabric scraps, they have wheels for easily moving around the cottage and a nice wood top for working on. Walmart no longer sells them, however I also found them on amazon in case you needed to get some too!!
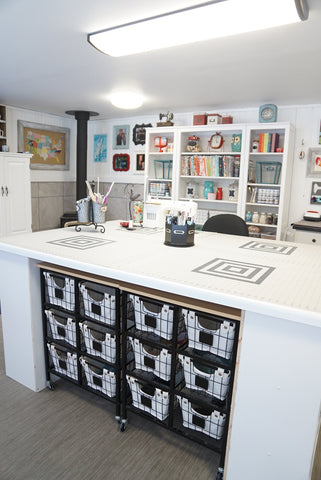
I found some cute baskets to put in the cubbies that were not already occupied by fabric from target a couple years ago, but here are some similar ones that I found for less. This gives me a ton of work space, as well as so much added storage.
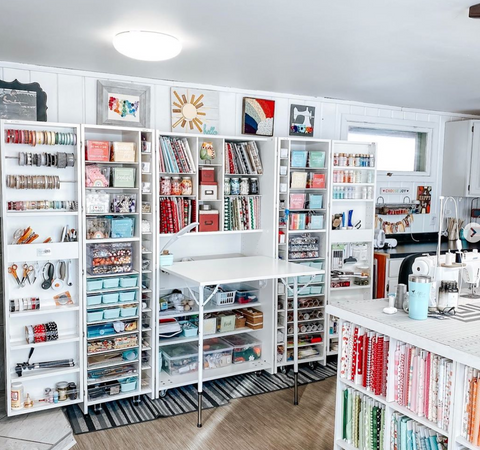
I have also recently added The Original Scrapbox to my room, and let me tell you, that was a game changer for space and organization! Read more about that here!
I hope that you enjoyed this Island tutorial! If you have questions, just ask! Be sure to follow us over on Instagram for more craft room storage tips!